Do you know React Native? If you don't, you should really do something about that, especially if you're a web developer interested in creating native mobile app. In a nutshell, Reactive App is a framework for building native apps using JavaScript and React. It uses the same design as React, letting you compose a rich mobile UI using declarative components instead of having to learn how to natively do it using Android Studio or XCode.
Conversely from other web-to-native frameworks, the apps you'll be able to build with React Native won't be mobile web apps wrapped in a native shell (if you know about PhoneGap/Cordoba you know what I mean): they will actually be iOS and Android native app! The only difference is that, instead of using Swift, Kotlin or Java to put together the native UI building blocks, you'll be to this using JavaScript and React.
Install React Native (and its dependencies)
The first thing we need to do is to install React Native framework on our system, together with all its required dependencies to build and run Android apps. Unfortunately, we cannot build and run iOS apps, as they do require a MacOS (or, to better say, a OSX machine). This is more a Apple cruel restriction than a React Native limitation, though: the sad part about mobile development nowadays is that Apple does not allow any kind of iOS emulator outside their ecosystem, thus forcing any developer who wants to create multi-platform mobile apps to develop using a Mac... Which is kind of sad, if you tell me, since nobody should be forced to use a Mac.
The only mobile framework who does actually allow to do something against that is Xamarin, which lets you use a really cool iOS remote simulator for Windows. Unfortunately, React Native has nothing similar, at least for the moment, forcing all Windows users to concentrate on Android... or to install a MacOS virtual machine using VMware or VirtualBox, which is basically what I'm still doing when I have to write software using XCode or React Native.
Anyway, here's what we need to do to install React Native and its Android dependencies on Windows:
Install Chocolatey
Chocolatey is a cool package manager for Windows that will greatly help you to get the proper things without messing up your system configuration, which is rather easy using other standard, linux-oriented package managers such as npm, yarn and the likes. (Note that you'll still be using them - just not from the start!)
To install Chocolatey, go to this URL and follow the instructions. In a nutshell, you'll be asked to open a Command Prompt window with administrative rights and cut-paste there a (very long) one-liner which will take care of installing Chocolatey for you in a single step. If you prefer Powershell over CMD, there's a (even longer) one-liner for that as well.

Install NodeJS, Phyton and JDK
Right after installing Chocolatey, you'll need to use it to install some of React Native's required dependencies, such as: Node.js (8.3 or newer), JDK (8 or newer) and Phyton (2 or newer). You can do that by opening another elevated command prompt and typing the following command:
|
1 |
> choco install -y nodejs.install python2 jdk8 |
If you already have the required version of Node.js, JDK or Phyton on your system, remove them to the above cmd to prevent Chocolatey from re-installing them.
Install Android Studio
The next thing you'll have to do is to download and install Android Studio. To do that, go to this URL and choose the Android Studio option. Choose a "Custom" setup when prompted to select an installation type. Make sure the boxes next to all of the following are checked:
- Android SDK
- Android SDK Platform
- Performance (Intel ® HAXM) (if you have a INTEL CPU: if you got an AMD one, click here)
- Android Virtual Device
Once done, click Next to begin installing these components. Once setup has finalized and you're presented with the Welcome screen, proceed to the next step.
Preparing the Android SDK
Android Studio installs the latest Android SDK by default: building a React Native app with native code, however, requires the Android 9 (Pie) SDK in particular. Additional Android SDKs can be installed through the SDK Manager in Android Studio, which can be accessed from the Welcome to Android Studio screen: click on Configure, then select SDK Manager. If you prefer to do that using the menus, go to the Preferences dialog, then Appearance & Behavior > System Settings > Android SDK.
Once you're there, select the SDK Platforms tab from within the SDK Manager, then check the box next to Show Package Details in the bottom right corner. Locate and expand the Android 9 (Pie) entry, then make sure the following items are checked:
- Android SDK Platform 28
- Intel x86 Atom_64 System Image or Google APIs Intel x86 Atom System Image
Next, select the SDK Tools tab and check the box next to Show Package Details here as well: locate and expand the Android SDK Build-Tools entry and make sure that 28.0.3 is selected. Eventually, click Apply to download and install everything you need.
Add the ANDROID_HOME environment variable
Open the Windows Control Panel, select System, then Change settings > Advanced: from there, click on Environment Variables, and create a new ANDROID_HOME user variable that points to the path to your Android SDK, which should be the following (be sure to check it):
|
1 |
C:\Users\YOUR_USERNAME\AppData\Local\Android\Sdk |
To quickly verify it, open Android Studio again, then go to Preferences > Appearance & Behavior > System Settings > Android SDK.
Add the platform-tools folder to PATH
Again, open the Windows Control Panel, select System, then Change settings > Advanced: from there, click on Environment Variables. This time, instead of creating a new user variable, select the PATH variable and edit it. Add the following path to the existing list:
|
1 |
C:\Users\YOUR_USERNAME\AppData\Local\Android\Sdk\platform-tools |
Again, be sure to verify that this is your Android SDK folder.
Install the React Native CLI
Last but not least, you will have to use npm to install the React Native CLI. Open a command prompt with elevated rights and type the following:
|
1 |
> npm install -g react-native-cli |
If you get a message from your OS saying that "npm" cannot be found, be sure that your NodeJS installation folder is present in the PATH environment variable: if it isn't, add it and try again.
Create a React Native Project
Once React Native and its required dependencies/components are installed, you have two options for create your first app:
- Create it from scratch using the React Native CLI.
- Clone a Boilerplate from GitHub and modifying it.
Each option comes with pros and cons: the React Native CLI is good enough for a sample "Hello World!" application, but it's missing some key features you'll most likely need to add by yourself (Redux, React Navigator, axios and so on); the Boilerplate will install a set of pre-made classes and UI elements (a menu, a navigation system, and so on) that will probably ease your development curve. For the above reasons, I suggest to go with the boilerplate, so that you'll be able to feel a whole signficant React Native experience. Anyway, in the next two paragraphs we'll deal with both scenarios.
Option #1: Use React Native CLI
Open an elevated command prompt, get in the folder you want to create your app root folder in: once you're there, type the following command to create your first React Native app:
|
1 |
> react-native init MyApp |
... That's it!
Option #2: Cloning a Boilerplate
- Clone the repository
- Copy it to another folder, such as /MyApp/
- Remove the previous git history by deleting the root .git folder.
- Follow the boilerplate setup instructions. For example, if it comes with a packages.json file, it will most likely require you to run npm update or yarn install to install/update the required dependencies.
- If the project has a default name, you can also rename it to your own project name using yarn run rename -- MyApp
- Create your configuration file App/Config/index.js (if not already present)
- Run your app by typing react-native run-android (to run the Android application) or react-native run-ios (for the iOS application). Remember to start a Simulator or to connect an Android/iOS device before doing that!
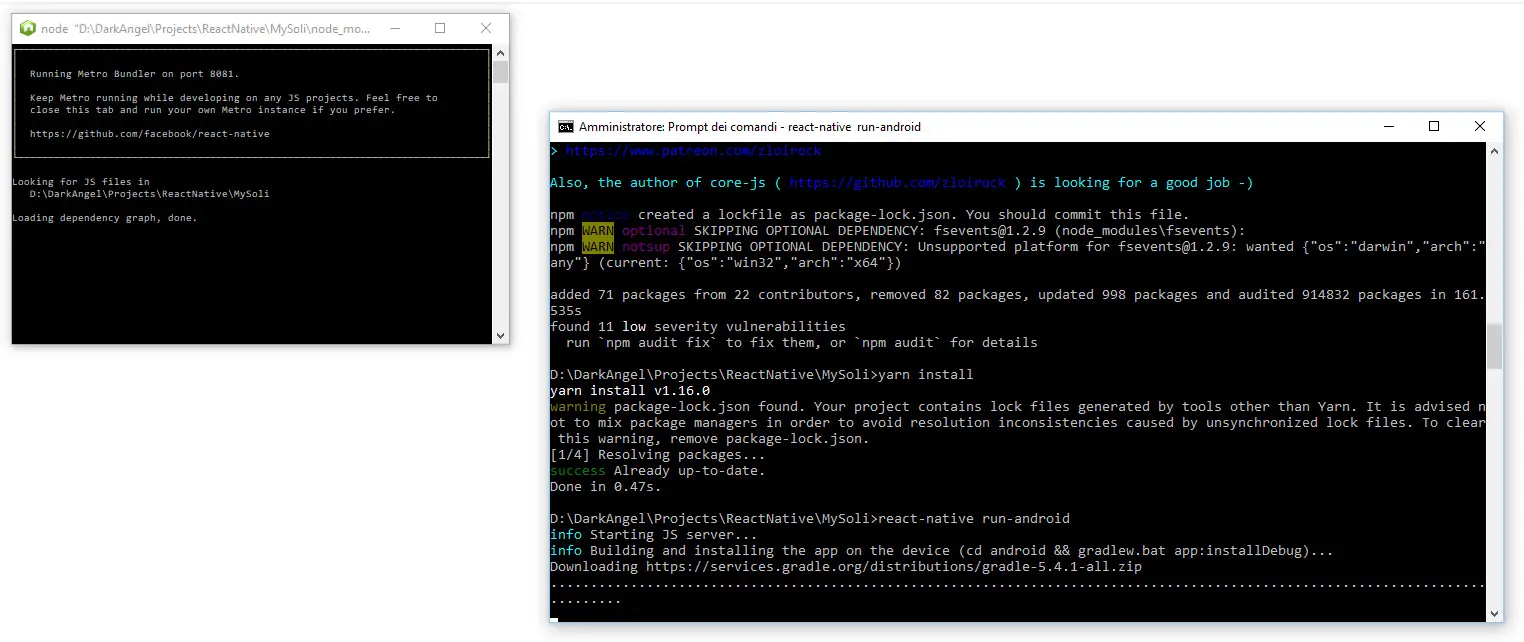
If you did everything correctly, your app should start running, installing some pre-requisites if necessary. For example, as we can see in the screenshot below, the Android app will install the Gradle build tool during the first run:
If you get the SDK location could not be found exception, it means that you either don't have installed the Android SDK or you didn't set the ANDROID_HOME variable (see below). ANDROID_SDK_ROOT variable.
Other common errors that could prevent the Android app from launching are licensing issues (License for Android Package XXX not accepted) and the absence of a suitable emulator (No connected devices!): the former can be fixed by opening the Android SDK Manager and installing/updating the missing packages; as for the latter, just be sure to either plugin a debug-enabled Android device or launch an Android emulator from the AVD Manager.
Install Visual Studio Code
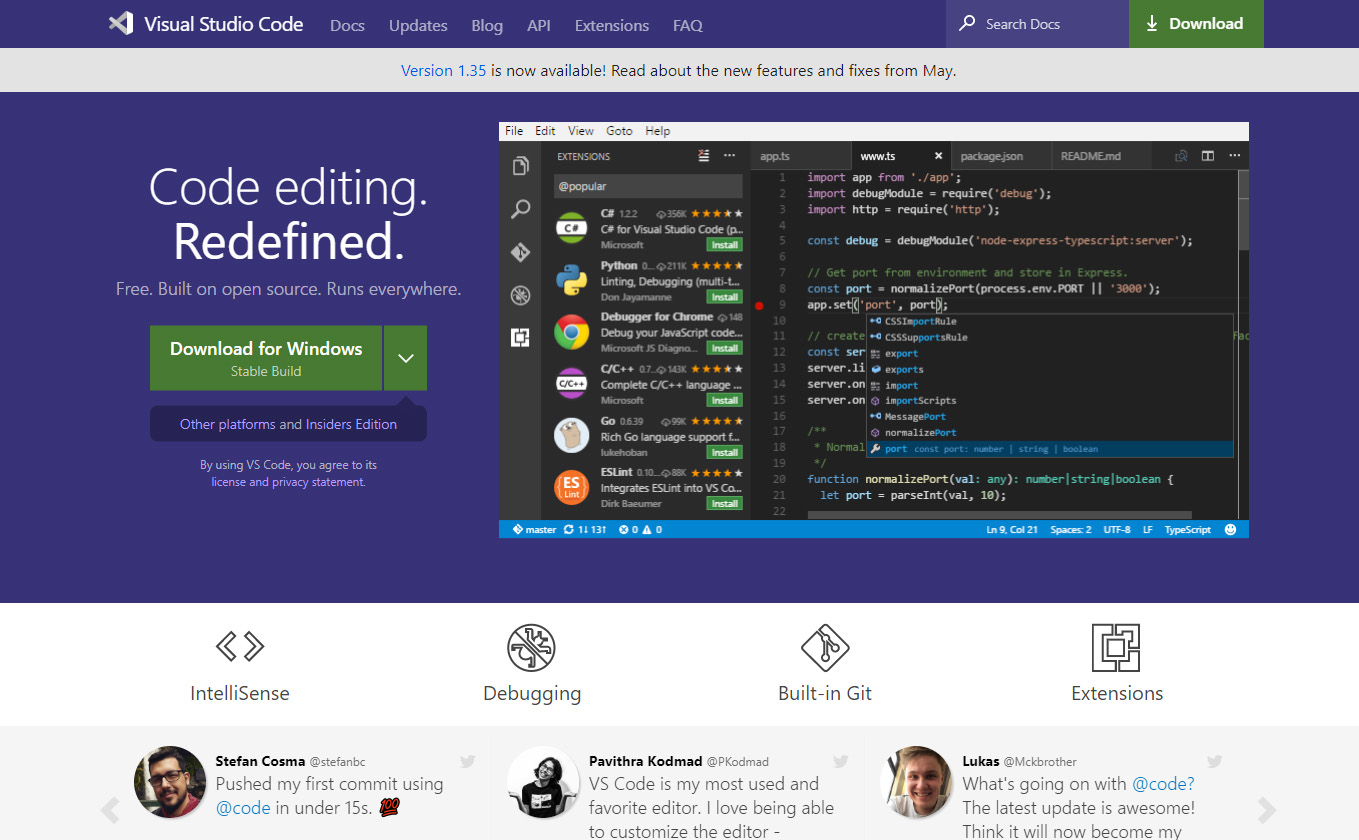
Now that our React Native app is ready, we just have to install a decent coding editor to be able to edit and/or debug it: that's where Visual Studio Code kicks in. Go to the Visual Studio Code official page and download it, then have it installed.
Install React Native Tools
Right after that, open the Extension pane (bottom last icon on the left) and install the React Native Tools, a great extension to debug and syntax highlighting React on VS Code.

Your first React Native App
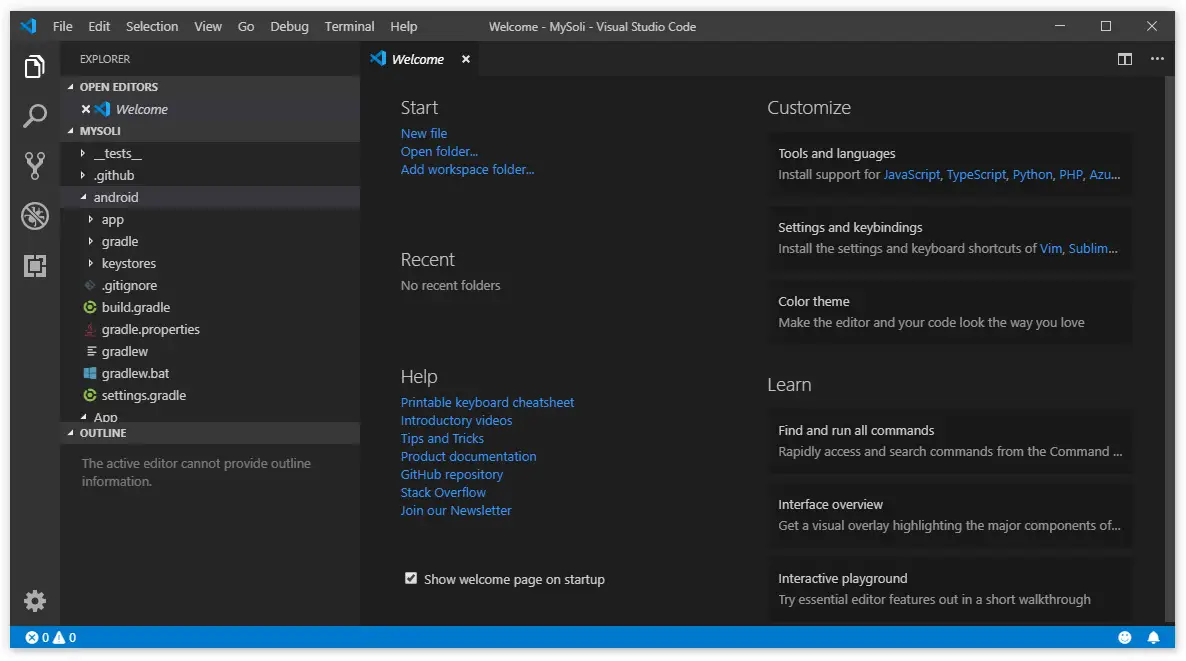
You're almost done: from Visual Studio Code, do File > Open Folder, select the /MyApp/ folder - the directory you created or cloned your first app in - and open it.
You should be welcomed by the following page:
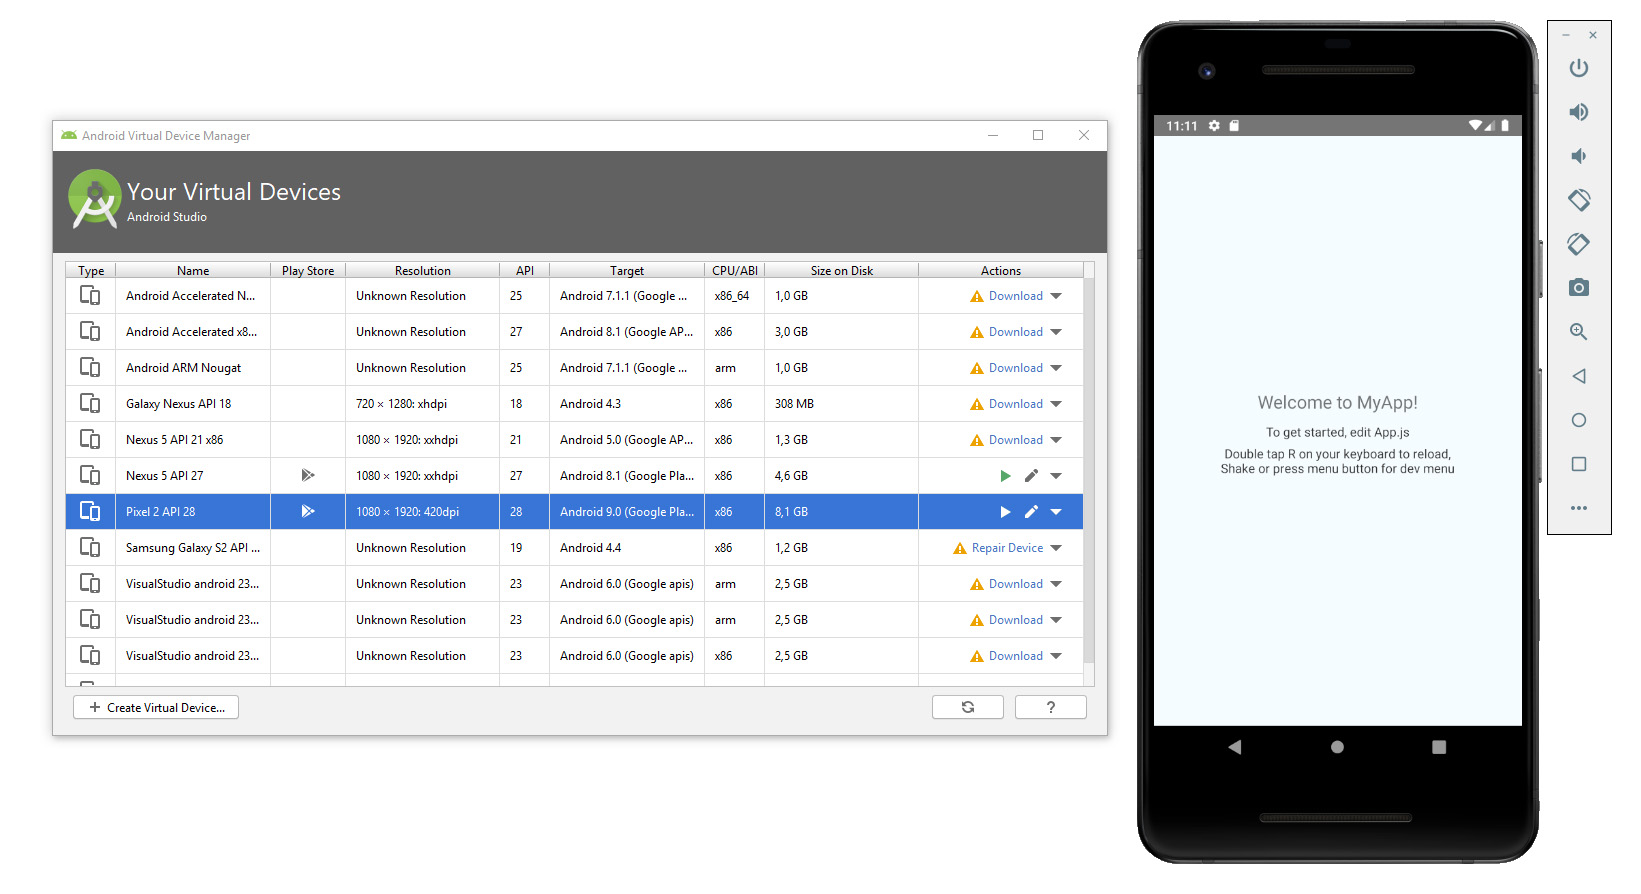
Now it's time to either connect your Android phone to your computer (providing that the USB Debug feature is enabled on it - click here to read how), or to launch an Android emulator using the Android SDK using the Android Studio's AVD Manager (click here to read how).

Right after that, from Visual Studio Code, go to the Debug screen and select the React Native debug configuration: a brand-new launch.json file will be created on your app's root folder, containing some default options to enable the debug. Click the green "play" button from the debug toolbar (placed on the top-left corner of the editor, right above the Explorer tree) and let the magic works!
If you did everything properly, you should see something like this:
Conclusion
That's it for now: I definitely hope that this guide will help other developers to try out React Native, as it's really something to be aware of!

This article is good for a beginner like me. Thanks!
“Right after that, from Visual Studio Code, go to the Debug screen and select the React Native debug configuration: a brand-new launch.json file will be created on your app’s root folder, containing some default options to enable the debug. Click the green “play” button from the debug toolbar (placed on the top-left corner of the editor, right above the Explorer tree) and let the magic works!”
Where is the debug screen??