Table of Contents
Have you ever heard of Rust? I definitely think so, since you ended up here. In this post we'll see how we can use Rust to build a simple Hello World web application using one of the main open-source rust web frameworks available... And, for the joy of Windows developers, we'll do that on a Windows 10 machine using Visual Studio Code.
However, in the unlikely case you don't know much about Rust, I'll do my best to briefly summarize what you've been missing until now.
Introducing Rust
Rust is a open-source multi-paradigm system programming language originally designed by Graydon Hoare at Mozilla Research (starting 2006) and backed by the Mozilla community, which was the first investor and the main sponsor of the project: Mozilla also utilizes Rust in many of its core initiatives, including Servo (their upcoming browser engine) and key parts of Firefox. It was - and still is - the "most loved programming language" in the Stack Overflow Developer Survey from 2016 to 2019.
If you are wondering why it is so loved, know that there are a lot of grood reasons. Despite being a low-level programming language (like C/C++) it features high-level abstractions, like Python. It's a solid back-end language, but it can also be used at front-end level (at least to some extent) thanks to the buit-in WASM support. It's also blazingly fast, more than Go and Java: it's memory-safe, guarantees thread safety, and features a resource management system much more advanced than a standard garbage collector. On top of that, it's backed by the Mozilla community, which was the first investor and is currently the main sponsor of the open-source project: Mozilla also utilizes Rust in many of its core initiatives, including Servo (their upcoming browser engine) and key parts of Firefox.
Rust aims to bring modern language design and an advanced type system to systems programming: for that very reason, it's most frequently used for applications where speed, performance and stability are essential. It also features a great community, an excellent documentation and a literal ton of huge resources for newcomers, such as: a weekly newsletter (This Week in Rust), a dedicated subreddit, a twitter account, a IRC channel (irc.mozilla.org#rust), a YouTube channel, an informative feed (The Rust Herald) and a community-driven help-desk forum (Rust User Forum). As of July, 2019, I can say that all these channels are full of contributors and stuffed with useful contents and resources, which is definitely a good sign of health (and hype) for a still "upcoming" language.
In a nutshell, I think that Rust will most likely be the next big deal in software development since the advent of Node.js roughly 10 years ago: as a matter of fact it already is, at least for the huge performance impact, the tremendous feature set and the outstanding programming experience it guarantees, especially when compared to its competitors.
Installing Rust
Installing Rust is a matter of seconds from any OS environment - including Windows. All you need to do is to go to the Rust official website at www.rust-lang.org, navigate to the Install page, get the proper installer for your system (which should be auto-detected) and execute it.
On Linux, the installer program will put all the tools in the ~/.cargo/bin directory. On a Windows environment, the default folder is %USERPROFILE%.cargo\. If you want to change it, you can do that by adding the following two permanent environment variables before running the installer: RUSTUP_HOME and CARGO_HOME.
Install Visual Studio 2019 C++ Build Tools
To be able to run on Windows, the Rust compiler requires the Microsoft C++ Build Tools for Visual Studio 2013 or later. If they are not installed on your system, the installer executable will prompt you for the following error message:
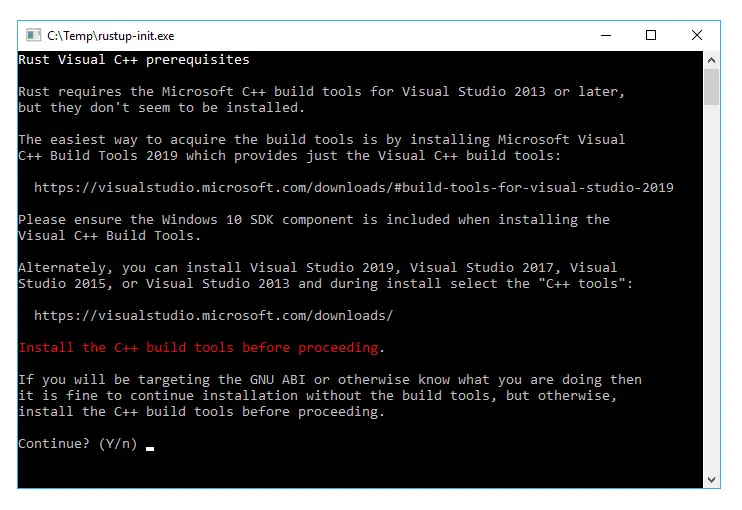
However, you can safely ignore the warning and continue by pressing the Y option: you'll install the C/C++ build tools directly on Visual Studio Code later on.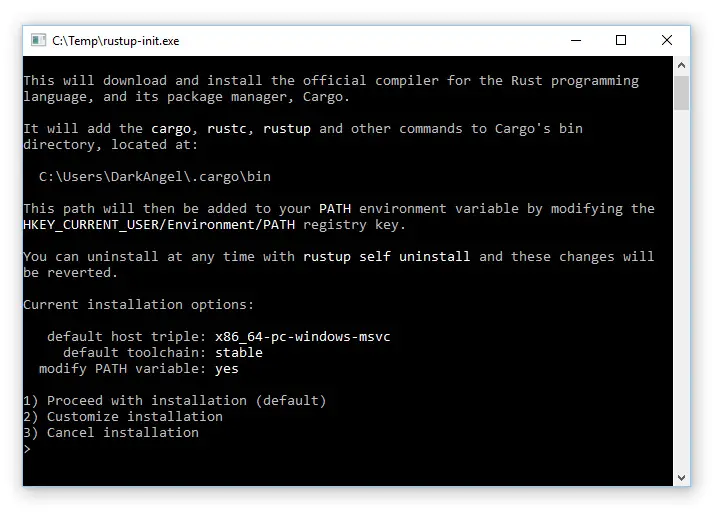
The default installation will also install the (required) default toolchain, which could be a good choice or not, depending on what you want to do: for starters, unless you have specific needs, it's advisable to just hit 1 for the Proceed with installation (default) option and let the installer do its job with the default toolchain.
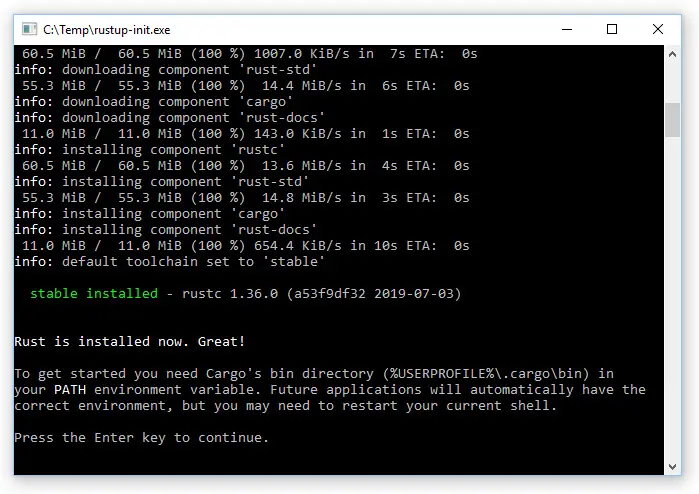
Right after installing, be sure to issue a rustup update command to be 100% sure that you have the latest version.
If you ever feel the need to change the toolchain from default to nightly, you can do that with the following commands:
|
1 2 |
> rustup toolchain install nightly-msvc > rustup toolchain uninstall default-msvc |
Create the "Hello World" project
Let's now pull off our first Rust + Actix web application.
Open a new command prompt, navigate to the folder that will contain your project and issue the following command to create a new binary-based Cargo project:
|
1 |
> cargo new hello-world |
The prompt should answer you with the following response:
Created binary (application)
hello-worldpackage
Once done, take a look to the new hello-world folder. You'll see a lot of interesting things: a git repository with a .gitignore file, a /src/ subfolder containing some code, and - most importantly - a Cargo.toml file. That's our new project's manifest file. The Cargo.toml file for each package is called its manifest. As you probably already know, A manifest file is something that contains the metadata for a group of accompanying files that are part of a set: in our specific scenario, that set is the whole rust project (or package).
Install the C/C++ and the Rust Extension Pack extensions
It's now time to launch Visual Studio Code, which we'll be using from now on to edit the Cargo.toml file and also to implement our web application. However, before doing that, we need to install the following extension:
- C/C++ by Microsoft, which will add VS Code support for the C/C++ build tools.
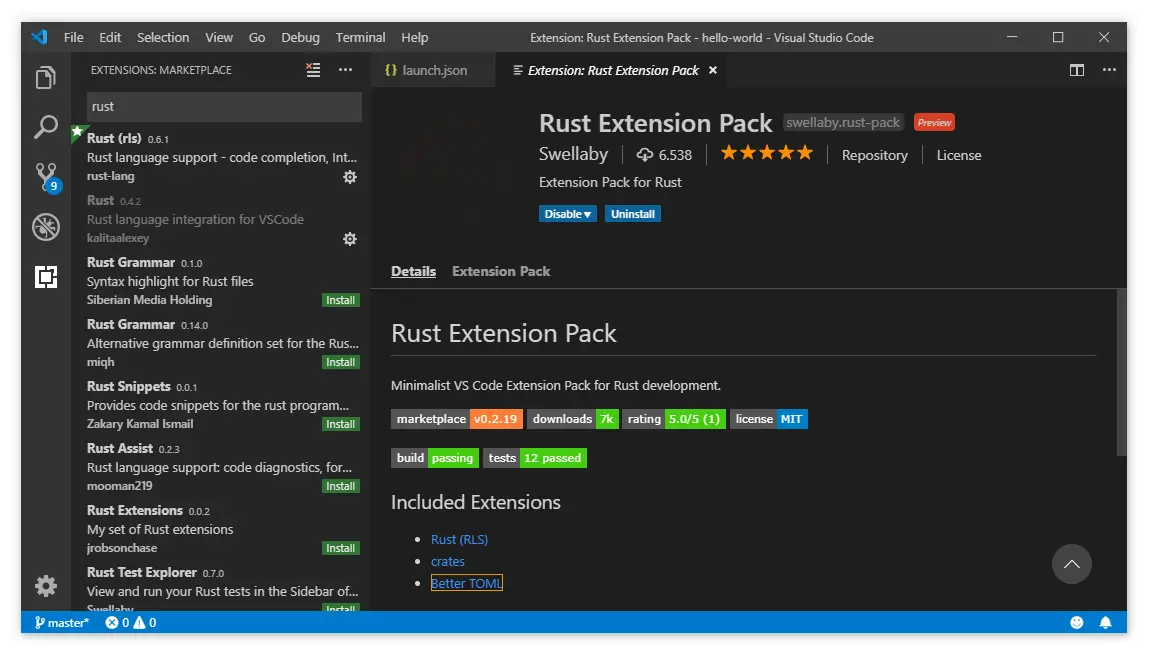
And also the Rust Extension Pack, a set of neat extensions which are ideal for Rust development on VS Code. The pack will install the following extensions:
- Rust (rls), by Daniel Griffen. This neat extension adds language support for Rust to Visual Studio Code using the Rust Language Server (RLS).
- Crates, by Seray Uzgur. A tool that will help manage crates.io dependencies within the Cargo.toml files.
- Better TOML, by bungcip. A VS Code extension that adds syntax highlighting, syntax validation and other useful enhancements to handle TOML files in a better way.
Open the Rust project with Visual Studio Code
When the new extensions have been installed and loaded, go to File > Open > Folder, select the hello-world folder and open it. You should be able to see your rust project files, just like any standard project.
Open the Debug menu, choose Add Configuration and add the following configuration:
- C++ (Windows), if you're on a Windows OS
- LLDB: Custom Launch, if you're on a Linux OS
This should add a new launch.json file to your project, which you'll need to edit to change the value of the program key in the following way:
|
1 |
"program": "${workspaceFolder}/target/debug/hello-world.exe", |
Right after that, go to File > Preferences > Settings, browse through User > Features > Debug and enable the option "Allow setting breakpoints in any file", as shown in the screenshot below:

We're almost done: now we just have to replace the default, minimalistic "Hello World!" implementation that cargo created for us within our hello-world app with a "Hello World!" web application.
Introducing (and not installing) actix-web
Actix web is a small, pragmatic, and extremely fast rust web framework: it's Type Safe, feature rich, extensible and blazingly fast, just like Rust. On top of that, it's currently the most used web framework available (the one with most stars/commits on GitHub and with the highest number of questions on StackOverflow). For all the above reasons, it's the framework we'll be using to create our Hello World project.
Thanks to Rust’s package manager (which is called cargo - think about it as the NPM of the Rust ecosystem) you won't need to explicitly install actix-web: you'll just have to put a dependence on it and you'll be good to go.
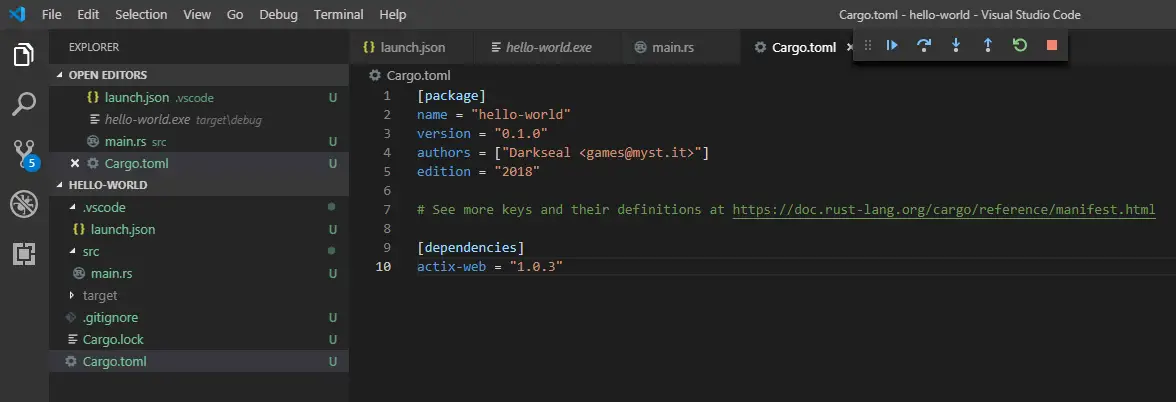
To do that, double click to the Cargo.toml file to open it and add a reference to the actix-web package right below the [dependencies] block:
|
1 2 |
[dependencies] actix-web = "1.0.3" |
Create a request handler
As you most likely know, the main purpose of any web server is to process incoming requests, right? In order to do that, we need to create a request handler: a request handler is basically a function that will respond to incoming requests and returns a response for each one of them. Since we're planning to use the HTTP protocol, our request handler will need to handle a HttpRequest and return a HttpResponse.
Open the /src/main.rs file and replace the existing sample with the following a minimalistic code for a HttpRequest handler that will return a "HELLO WORLD!" HttpResponse:
|
1 2 3 4 5 |
use actix_web::{web, App, HttpResponse, HttpServer, Responder}; fn index() -> impl Responder { HttpResponse::Ok().body("HELLO WORLD!") } |
Create a HttpServer and a Web App
Once done, we need to create a HttpServer and embed an App instance within it. We'll do that within a special function that we'll call main() so that it will be the default entry point of our project.
Still on the the /src/main.rs file, right below the previous function, add a new main() function with the following code:
|
1 2 3 4 5 |
fn main() { HttpServer::new(|| { App::new() }); } |
Now that we do have a HttpServer and an App , we can register the HttpRequest handler we implemented in the first place: we can do that by creating a route for the App , using a given path (the root path / will do) and a specific HTTP method, such as GET.
To do that, rewrite the main() function by adding the following line:
|
1 2 3 4 5 6 |
fn main() { HttpServer::new(|| { App::new() .route("/", web::get().to(index)) }); } |
This new line is basically telling our App to use our indexrequest handler for any HttpRequest hitting the root path ( / ). This will work, but it's obviously not enough: we also need to tell our HttpServer to listen for incoming HTTP connections by listening to a specific TCP port (using the bind() method) and - most importantly - to start it automatically (using the run() method).
To do that, rewrite the main() function by adding the following lines:
|
1 2 3 4 5 6 7 8 9 10 |
fn main() { HttpServer::new(|| { App::new() .route("/", web::get().to(index)) }) .bind("127.0.0.1:8080") .unwrap() .run() .unwrap(); } |
Build and Run
Here we are! Now we can compile the program by issuing the following command in the Visual Studio Code terminal window:
|
1 |
> cargo build |
And then run the program in debug mode by selecting Debug > Start Debugging (or by hitting F5).
As soon as our web app is running, we can launch our favorite browser and visit the http://localhost:8080/ address to see the results.
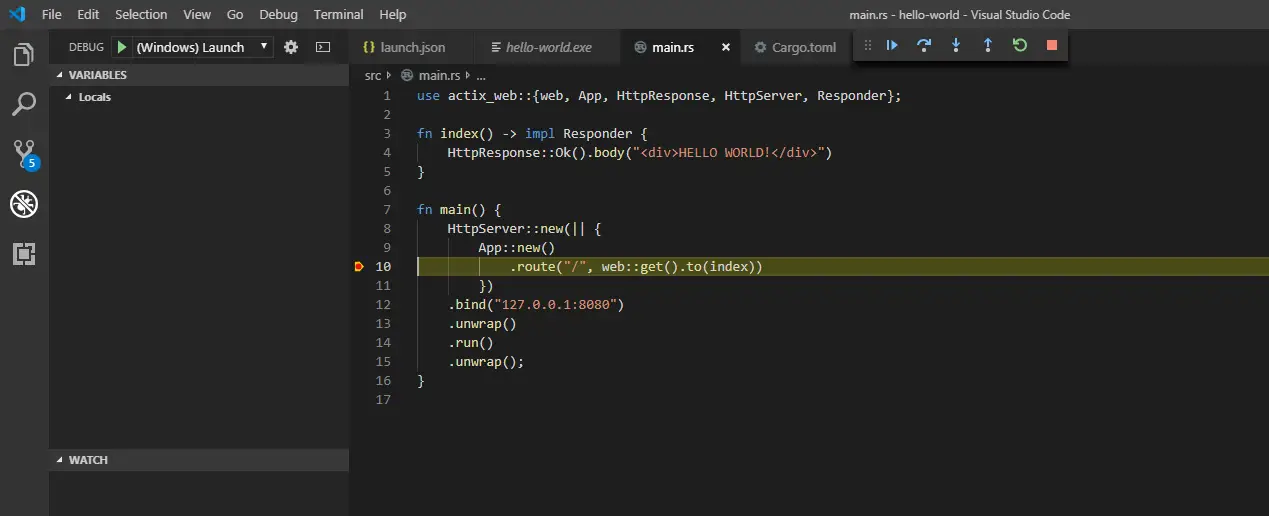
Debug
It goes without saying that, since we enabled the "Allow setting breakpoints in any file" VS Code feature, we can place breakpoints within the main.rs file and expect them to be hit during our debug sessions:
Conclusion
That's it, at least for now. I hope that this tutorial will help some web developers to fall in love with Rust just like I did. See you next time, and... Happy coding!

