PHP 7 - everyone’s talking about it. Curious new operators, fun anonymous classes, performance improvements, it’s everywhere online! I’m quite excited to explore the benefits of the new kid on the block.
In this short tutorial I will walk you through the process of installing and testing out a Vagrant Box and a PHP 7 Installation on your Mac OS X. I use Vagrant as I’d like to keep PHP 7 separate from my own machine until I’m done with porting all my projects over compatibility-wise (I’m looking at you, Mage), so I’m gonna start by installing Vagrant / Virtual Box Setup.
Step 1: Download & Install Virtual Box
Vagrant doesn’t work just on its own, you will need a provider to run the actual machine itself. It’s got built-in support for VirtualBox, so this is the quickest way to go.
Download the package of VirtualBox you need for your OS from here - https://www.virtualbox.org/wiki/Downloads.
I went with OS X Hosts.
Handy Hint:
The latest version right now is 5.2.x and isn’t yet supported by Vagrant - so be sure to go with version 5.1.x or check the requirements first.
Follow the on-screen instructions to install it on your OS.
Step 2: Download & Install Vagrant
Download the application from the Vagrant Website Downloads Page - https://www.vagrantup.com/downloads.html - again, pick the package according to your OS.
Follow on-screen instructions to install it, fairly straightforward.
Step 3: Set up your First Vagrant Machine
The 2 commands you need to get up and running are:
|
1 2 |
vagrant init vagrant up |
But wait, don’t get started running these just yet. We’d like to pick the OS we need to create the ‘Box’ environment to work on.
Here’s a list of environments available: https://app.vagrantup.com/boxes/search. Search for the environment you’re looking for - in our case here we’ll go with Ubuntu, namely ubuntu/trusty64.
Click on the link, it will load up a page like this:
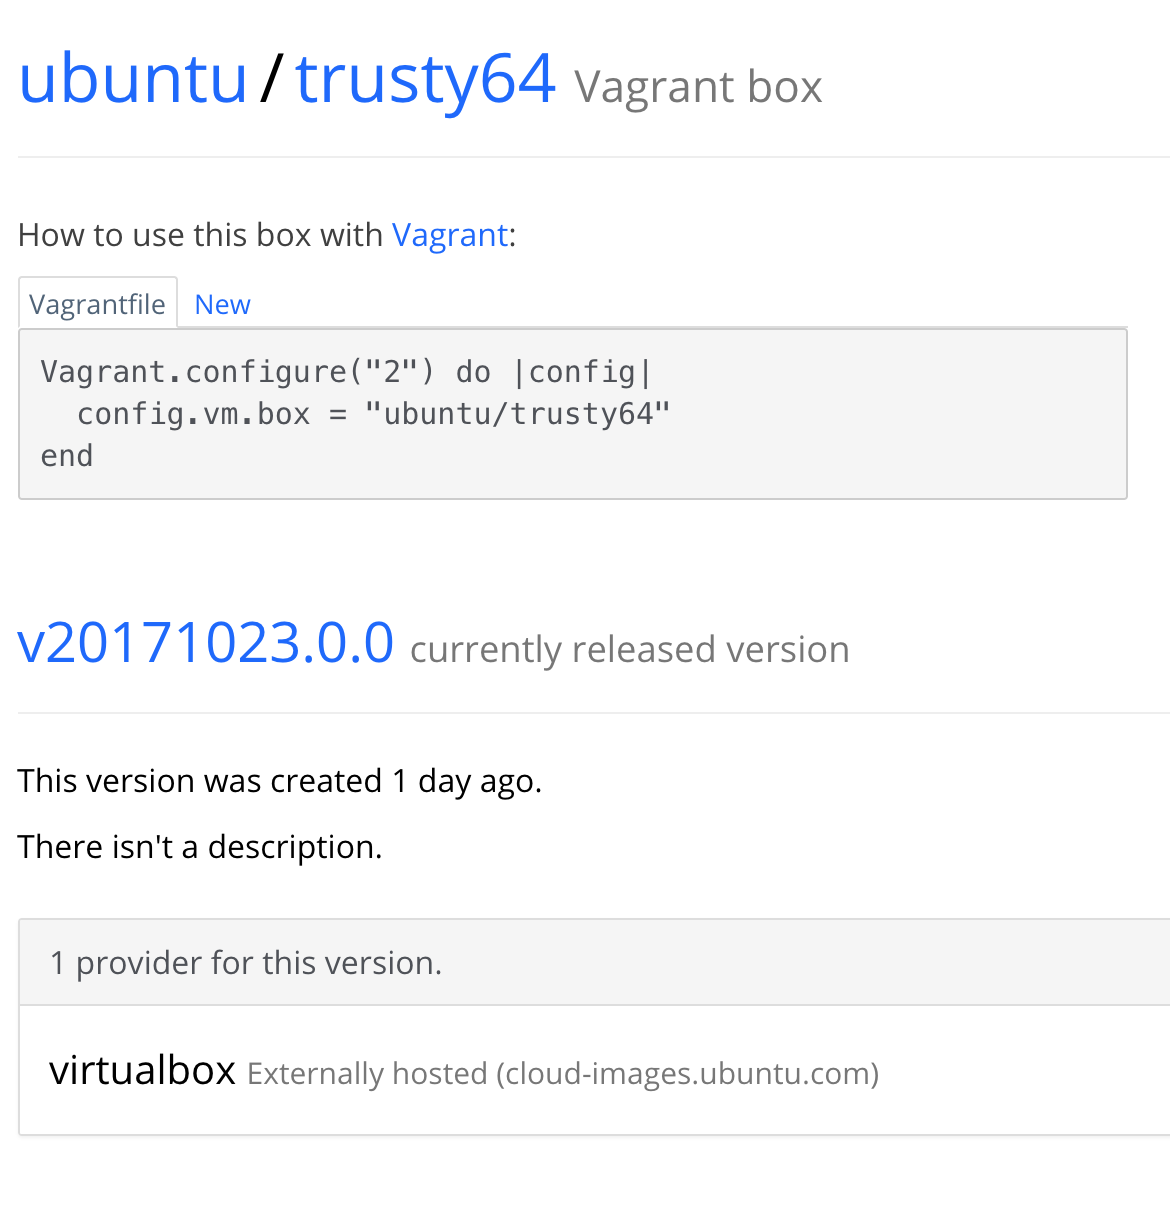
Click on the “New” Tab under “How to use this box with Vagrant”:
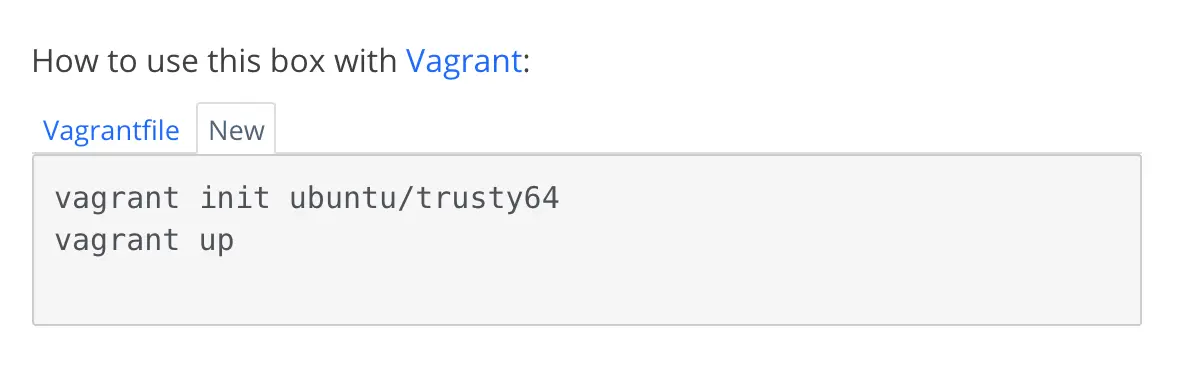
Et voila, you will see the necessary commands.
Fire up Terminal on your pc and navigate to the directory where the VM will reside.
I created a directory “vagrant” (Original, I know). cd’ed my way over to it.
Run the command:
|
1 |
vagrant init ubuntu/trusty64 |
This is what you will see:
|
1 2 3 4 5 |
[Rashmis-MacBook-Pro:vagrant Rash$ vagrant init ubuntu/trusty64 A `Vagrantfile` has been placed in this directory. You are now ready to `vagrant up` your first virtual environment! Please read the comments in the Vagrantfile as well as documentation on `vagrantup.com` for more information on using Vagrant. |
Once this is done run a quick ls and check the contents of the directory:
|
1 2 |
[Rashmis-MacBook-Pro:vagrant Rash$ ls Vagrantfile |
A file has been created called “VagrantFile”.
This is the default config file for your box. We need to change a config setting here to be able to access this VM from your local browser.
Open up the vagrant file:
|
1 |
$ sudo vi Vagrantfile |
Search for the line:
|
1 |
# config.vm.network "private_network" |
Uncomment it, and modify the IP to whatever IP address you want, or just leave it as the default as I have done:
|
1 2 3 |
# Create a private network, which allows host-only access to the machine # using a specific IP. config.vm.network "private_network", ip: "192.168.33.10" |
Remember this IP address, we’ll need this later.
And then fire up the, well, “up” command
|
1 2 3 4 5 6 7 8 |
Rashmis-MacBook-Pro:vagrant Rash$ sudo vagrant up Bringing machine 'default' up with 'virtualbox' provider... ==> default: Importing base box 'ubuntu/trusty64'... ... ... default: VirtualBox Version: 5.1 ==> default: Mounting shared folders... default: /vagrant => /path/to/vagrant/folder |
And that’s it! Our machine is up and ready! Lets dive in to the fun stuff now:
Step 4: SSH Into your Machine
SSH’ing into your machine is easy, the command is:
|
1 |
vagrant ssh |
Once you enter this, you will be logged in to the system. Really, that’s pretty much all it takes!
|
1 2 3 4 5 |
Rashmis-MacBook-Pro:vagrant Rash$ sudo vagrant ssh Welcome to Ubuntu 14.04.5 LTS (GNU/Linux 3.13.0-133-generic x86_64) ... ... vagrant@vagrant-ubuntu-trusty-64:~$ |
Step 5: Install LAMP Stack
Now that we’ve got our machine, lets begin by installing the LAMP stack.
If you’ve already been developing in PHP before this, you’re already familiar with the steps. I’m gonna go through them briefly here.
Note: If you’re new to PHP, stay tuned for our post on installing LAMP stack.
Apache
|
1 2 |
sudo apt-get update sudo apt-get install apache2 |
Check if the installation was fine using: apache2 -v command, you should see this:
|
1 2 3 |
vagrant@vagrant-ubuntu-trusty-64:~$ apache2 -v Server version: Apache/2.4.7 (Ubuntu) Server built: Sep 18 2017 16:37:54 |
Now head over to your browser and enter the IP Address you configured in the Vagrantfile. In my case, it was 192.168.33.10. Here you should see the default apache “It Works!” Page:
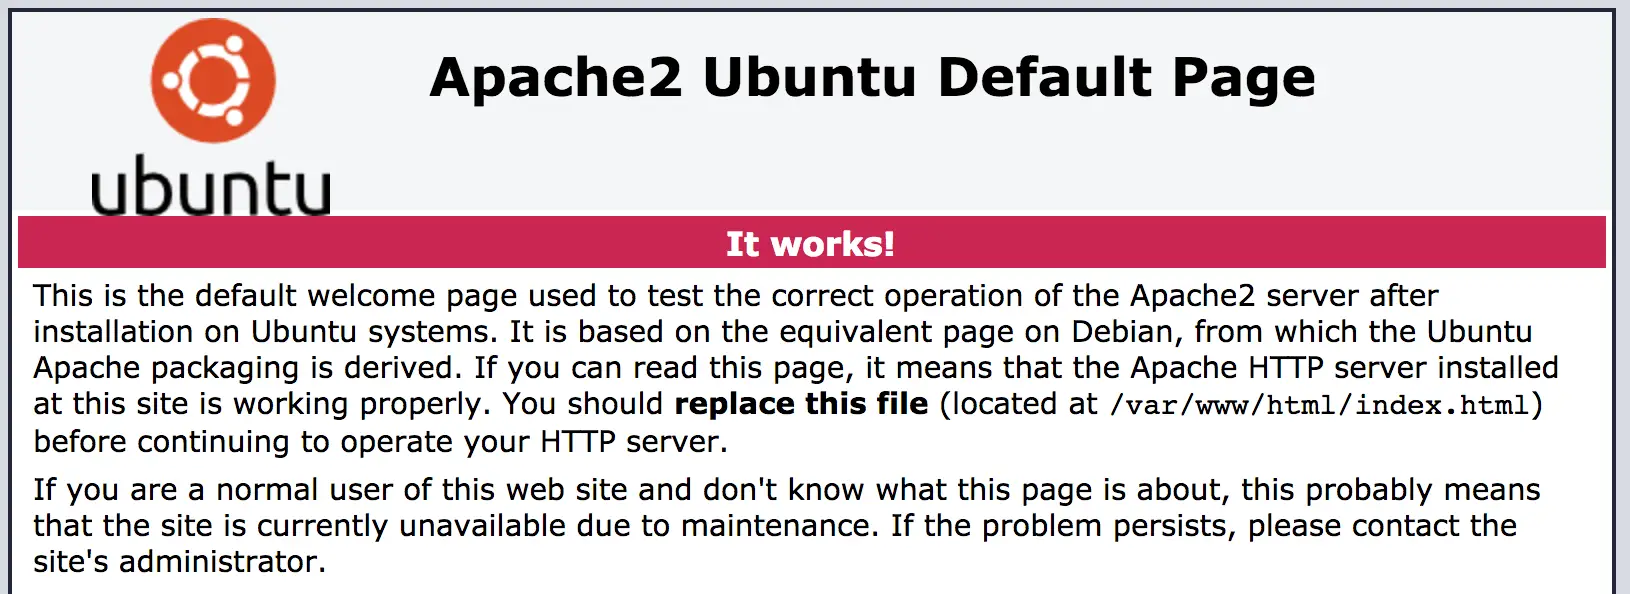
Awesome! It works! Let’s move on.
MySql
Install mysql with the command:
|
1 |
sudo apt-get install mysql-server |
Follow the on-screen instructions, hit return and enter the mysql password whenever asked to. There! You’ve got mysql running too.
Give it a quick test run:
|
1 |
mysql -u root -p |
You will be prompted for the password, enter it and you’re now logged in to mysql server.
PHP
And now, for the moment we’ve been waiting for. Let’s get our PHP running, shall we. The usual command for installing any PHP version is:
|
1 |
sudo apt-get install php7.0 |
Though, as on this writing, PHP7 is not available for Ubuntu Trusty in the standard Ubuntu repositories so we have to install a repository to our linux distro:
|
1 2 3 |
sudo apt-add-repository ppa:ondrej/php sudo apt-get update sudo apt-get install php7.0 |
A quick php -v should work here to help you know that everything’s working fine:
|
1 2 3 4 5 |
vagrant@vagrant-ubuntu-trusty-64:~$ php -v PHP 7.0.25-1+ubuntu14.04.1+deb.sury.org+1 (cli) (built: Oct 27 2017 14:07:59) ( NTS ) Copyright (c) 1997-2017 The PHP Group Zend Engine v3.0.0, Copyright (c) 1998-2017 Zend Technologies with Zend OPcache v7.0.25-1+ubuntu14.04.1+deb.sury.org+1, Copyright (c) 1999-2017, by Zend Technologies |
And we’re done! You’ve now got a fully functional development environment with LAMP stack right on your machine.
I’m gonna go play around with the cool new PHP7.0 features for now, will write back with my review of the same in a later post.
Bonus:
When I was setting it up the first time around, I pretty much had to install Vagrant boxes a hundred times. A useful command to delete off all boxes is:
Note:
It is also possible to install and configure multiple versions of PHP to run on your local setup simultaneously. Here’s a tutorial I’ve found that details the steps for this: https://medium.com/@wvervuurt/how-to-run-multiple-php-versions-simultaneously-under-os-x-el-capitan-using-standard-apache-98351f4cec67