If you've stumbled upon this post you are probably wondering why, after decades of service, the handy telnet client command-line originally shipped with any version of Windows up to Windows 7 - is not present on the latest version of the Microsoft operating system - Windows 10.
Truth to be told, the telnet client still exists - however, it is no longer part of the built-in tools of the standard Windows setup: if you want to have it on your system, you must select it explicitly. Luckily enough, this can be done even after installing Windows: you just have to follow these simple steps:
- Open the Control Panel.
- Navigate through Programs and Features.
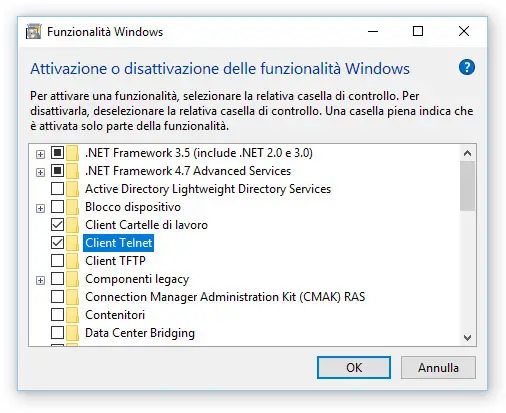
- In the left menu, select Enable or disable Windows features.
- Locate the Telnet Client within the list and select it using the checkbox on the left.
- Click OK to start the installation of the Telnet client.
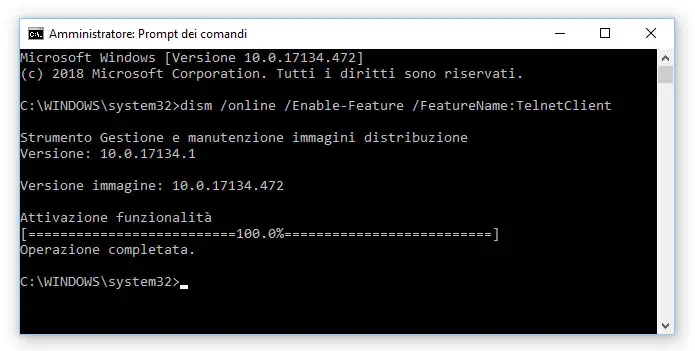
If you do not want to bother with the GUI, you can also install the Telnet client from the command line. To do that, open a Command Prompt with administrative privileges, then type the following command:
|
1 |
dism / online / Enable-Feature / FeatureName: TelnetClient |
As soon as you press Enter, a command-line installation procedure will install telnet on your system in a matter of minutes: once finished, you can use the Telnet command with the usual syntax (the same as the previous versions of Windows).
If you need help with the various commands and switches, you can take a look at the official Telnet client documentation from Microsoft Docs.
If the Windows telnet client does not satisfy you, you can choose one of the many free alternatives available on the web: the one we like the most is definitely Teraterm, a lightweight and free Telnet client and SSH free that you can download from here.
That's it for now: happy telnet!

You made such an interesting piece to read, giving every subject enlightenment for us to gain knowledge. Thanks for sharing the such information with us to read this…