
One of the most peculiar features of the .NET framework is being able to develop multi-language applications with ease: we already covered the matter in this post, explaining how to build a multi-language MVC-based website by using the Resource Files: a technique that can be also used for any kind of .NET project: console app, desktop app (WinForms or XAML), and more. If you've read that post you know that, as soon as we deploy the Resource Files for the language we would like to support, the system will rely to a default language to serve untranslated content using a standard fallback logic. The default language, usually english, can be easily set using the Web.Config (or App.Config) file in the following way:
|
1 2 3 4 5 |
<configuration> <system.web> <globalization uiCulture="en-US"/> </system.web> </configuration> |
If such information is missing, the system - or, to be more specific, the Application Pool used by our website or the main thread of our application - will use the default system language: yes, we're talking about the language selected during the Windows server installation process.
That said, the question is rather obvious: can we change this setting? Of course: let's see how we can do it.
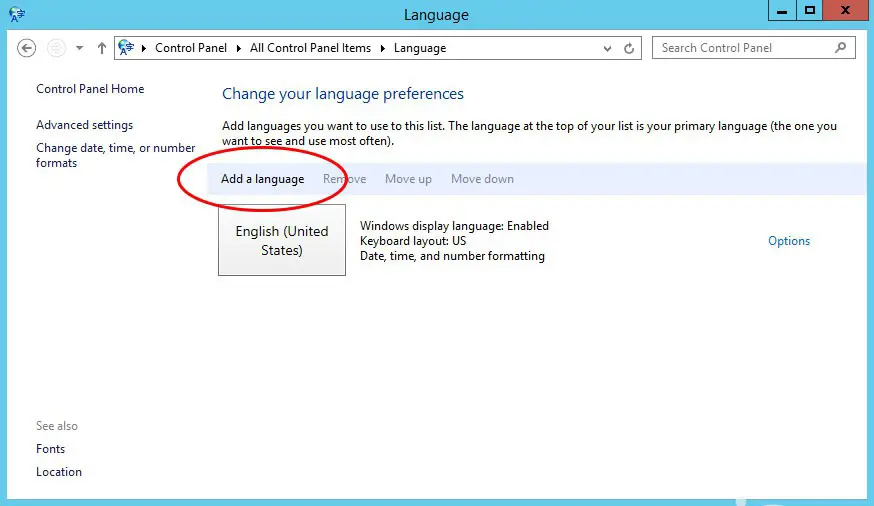
Open up the Control Panel, then click to the the Language icon: a list of installed languages will be shown. If the language you wish to set as default isn't listed, install it using the Add a Language button link and follow the on-screen instructions to download and install the package.
As soon as you do that - if required - go back to the language configuration panel and click on Advanced Settings: from there you can select what will be the default system language: you can either select one or tell the system to take the first available language available, following the list order shown in the previous page. I personally prefer to go for the latter, reordering the languages at will in order to have the one I want to set as default on top of the list.
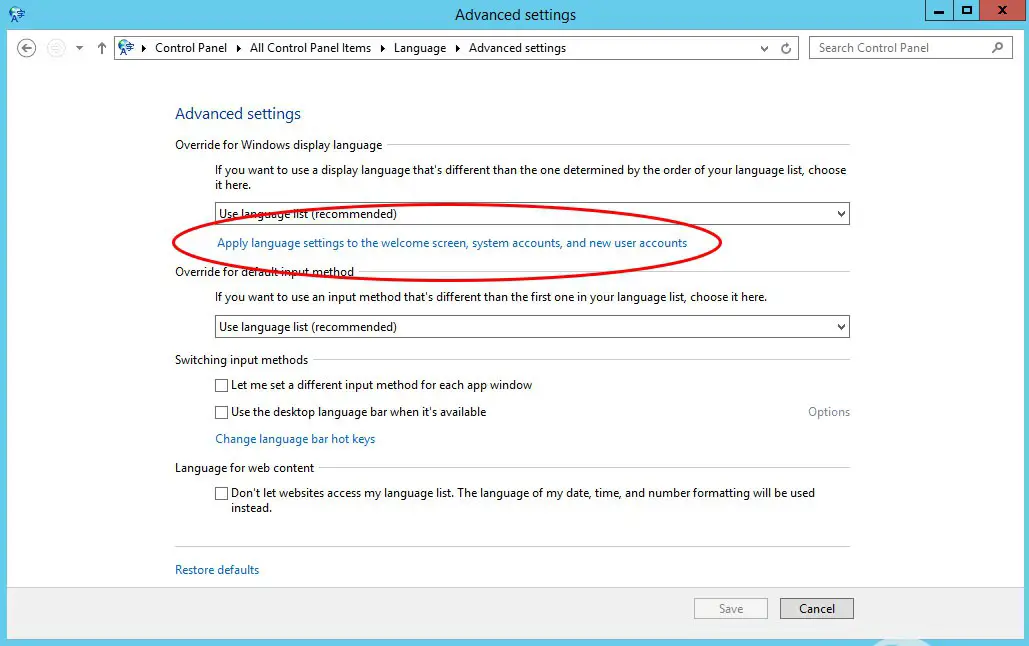
After you have saved your choice, all you need to do is to click on the Apply language settings to the welcome screen, system accounts, and new user account option link. A pop-up window will be shown, containing a couple buttons you need to press in order to confirm to alter the default language for all the system accounts and also for anything not supporting the Unicode standard: click on both of them and you're done.
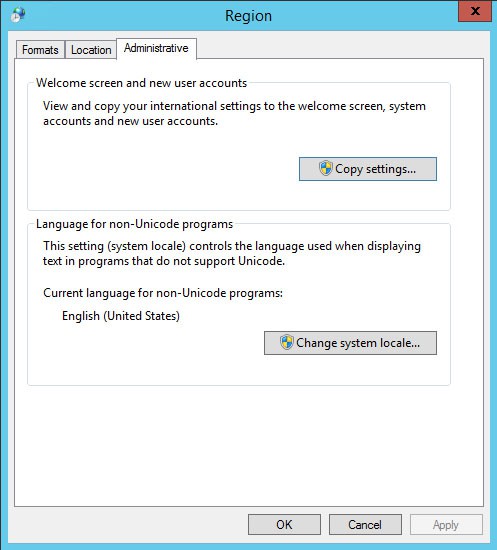
This last step is very important to obtain what we want, because the IIS Application Pools are almost always configured to use the Network Service system account. If you've changed this, you'll most likely need to change the default language for that user aswell.
As soon as you perform these tasks don't forget to reboot your server to force Windows and IIS to load the new localization info.
If you need further informations regarding this topic, be sure to read the Microsoft official guide on the KB.
Happy coding!


