
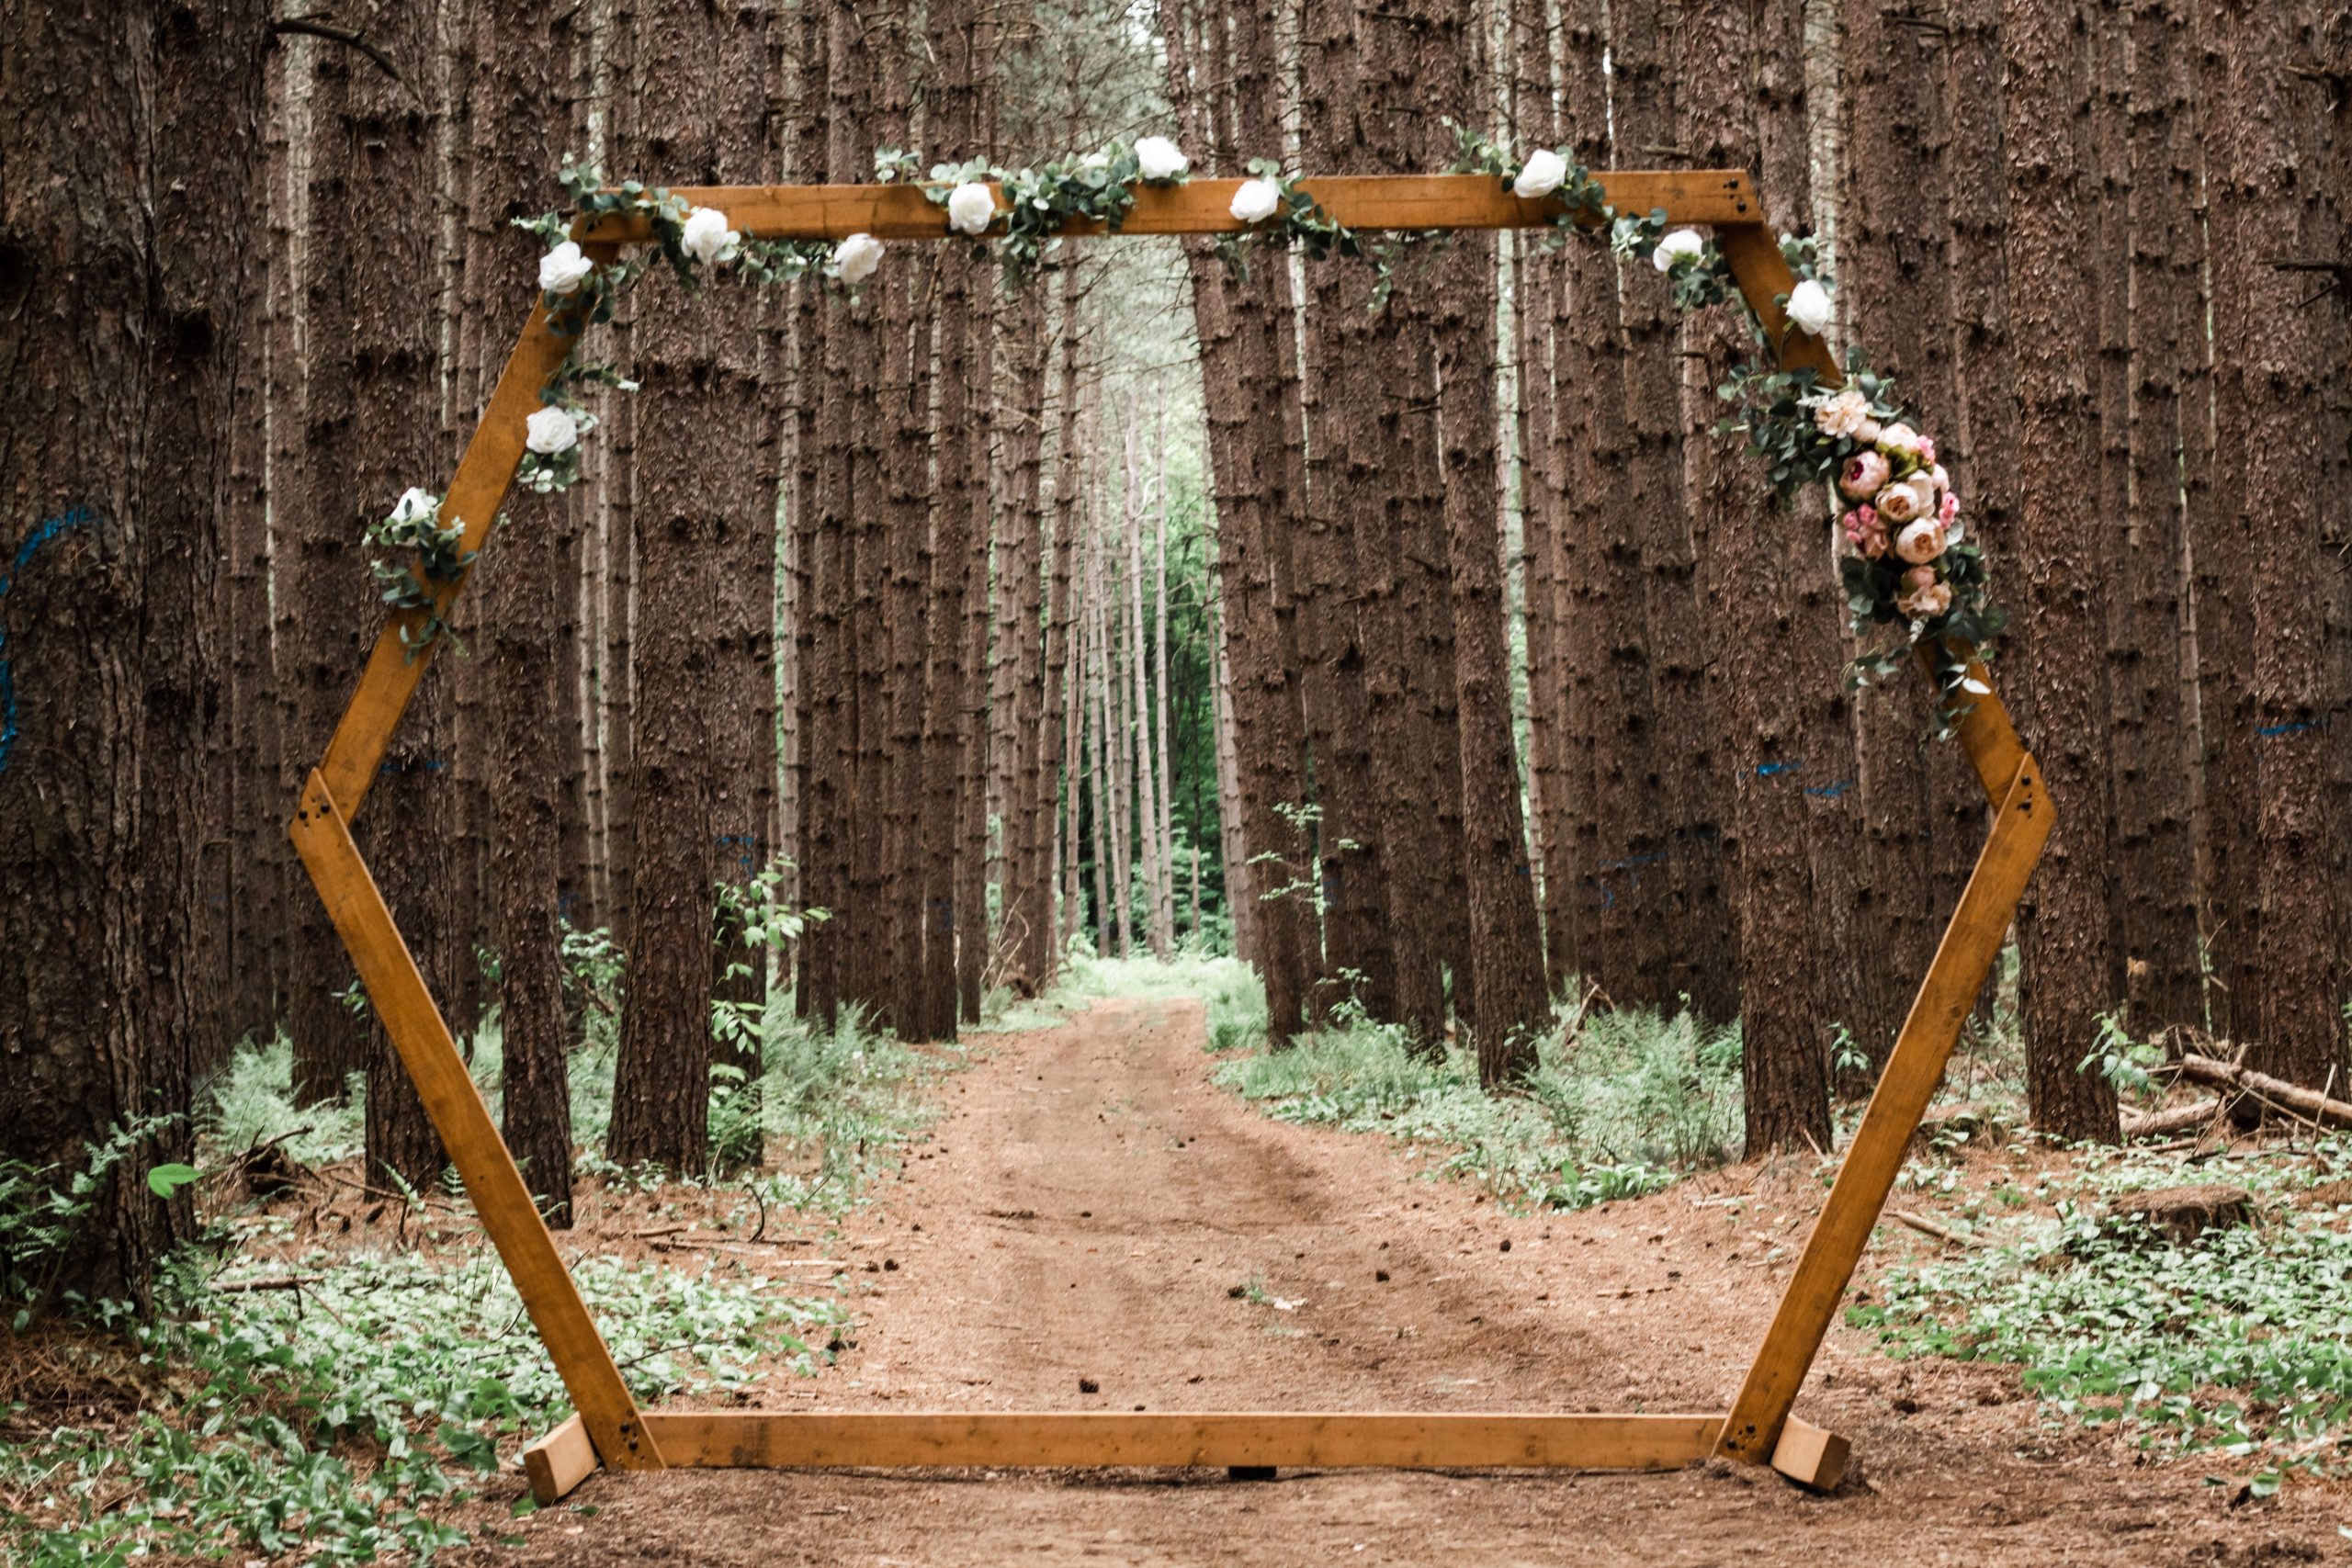
You decided to take up photography. You bought a great camera, rented a good studio, and even found models. All that's left is to prepare different kinds of backgrounds. Why do you need a background? It's not just the focal point of the photo, it can also spoil or embellish the model.
There are three main components in a photo: the model, the light, and the background. If you remove one of them you risk getting a very bad result. In this article, you will get some interesting tips about how to choose the right backdrop, but if you want to know more about photo backdrop ideas, we strongly suggest you seek advice from professional websites such as Skylum's blog.
What kind of studio backdrops there are
Below you will read about the main types of backdrops and be able to decide which is right for you.
- Collapsible. This is a very convenient background for a photo set. There are also double-sided versions for studios. Suitable for portraits.
- Chromakey. This is the green or blue backdrop. It is usually used when the photographer is not quite sure about the backdrop, or it lacks detail. The only thing you have to watch out for is that the clothes should not be a color close to the background, otherwise the clothes will also change color.
- Fabric. This is the most common type of studio backdrop. They can be textured or smooth, seamless fabrics. It all depends on the purpose of the photograph and the transportation. There are muslin, cotton, canvas, polyester, stretch knit, or velour for you to choose from. Each has its own advantages and disadvantages, so the choice is yours.
- Seamless paper. It is ideal for beginning photographers. In general, it is the most winning option for studio photography. The main disadvantage is that this background is not portable and tears easily when you press it. But if handled carefully, it will serve you for a very long time. It also has a great color palette.
- Floor and wall. Very often the floor is as important as the backdrop. It can be smooth or textured. It's made of thick material, so it can be used for a long time. And of course, there are a lot of varieties of these materials, so they can suit any photo set.
- Vinyl. The main advantages of this background are the reflection of the flash, matte finish, and matching the look before and after taking the picture. The main rule for the long life of vinyl is to clean it regularly from dust.
As you can see the choice of backdrop depends on many factors, but the main thing is that you have a choice. Also, if you do not want to buy a ready-made background, you can make it in your own hands.
Top tips for choosing a backdrop
Here are some important tips to make your results bright and memorable.
- Think about color. Think carefully about the color of the clothes and the backdrop. They must contrast. The backdrop should highlight and emphasize the virtues of the model. Buy several options and experiment in your free time. White, black, and gray are more traditional and stable colors. They are especially suitable for portraits. Red is used to convey love, energy, and passion. The yellow background is energizing and adds optimism to your photos. Green helps to calm a person, but be careful, not all shades of green have that effect.
- Requisite. Think about what you can add to your location. You can use your imagination, but remember that everything must look harmonious in the frame.
- Lighting. Decide what kind of light you want. Brighter or dimmer. This will determine what kind of lighting you need.
- Background Purity. Ensure your backgrounds are clean so you don't waste time processing them. Or choose textured surfaces where the dust can blend in.
- Minimize the environment. The simpler the background is, the more attention is paid to the model. However, there are exceptions to this as well, as a simple background can make it look as if the model has been inserted there. So trust your instincts.
- Blurring. If you want to try a more complicated backdrop, but don't want to make it stand out, try blur. You can use the sky, a city at night, or a store as your backdrop. Blur that background and you have a Japanese "bokeh" technique. It's always aesthetically beautiful and always works.
- Move. Sometimes it's very difficult to catch the right angle. To do this, you have to relocate or move your object, because you can't move the backdrop. Experiment with the angles to find the right one.
These basic tips will help you improve your skills. They will also help you decide which style you enjoy working in the most.
Conclusion
After reading this article you have learned what is the best background for you and when to use it. And you have also learned a few tips about working with backgrounds. You might be familiar with most of them, but it's never too late to remember the basics.
The main thing you can understand from this article is that the background dramatically affects the mood of your future photos.