

A few days ago we've published a guide explaining how to send email messages via SMTP with MailKit implementing a custom MailKitEmailSender class based upon the ASP.NET Core built-in IEmailSender interface. In this post we'll make use of that custom class to see how we can create a free account on SendInBlue.com and send transactional e-mail messages using their SMTP.
For those who don't know what we're talking about, SendInBlue is a all-in-one SAAS-based platform that offers transactional services such as Email, SMS, Chat (and more) through a versatile set of APIs that can be invoked and consumed from external websites or web services; its feature set makes it rather similar to SendGrid, Mailgun, Amazon SES and the likes, at least when it comes to e-mail sending capabilities.
1. Create an Account
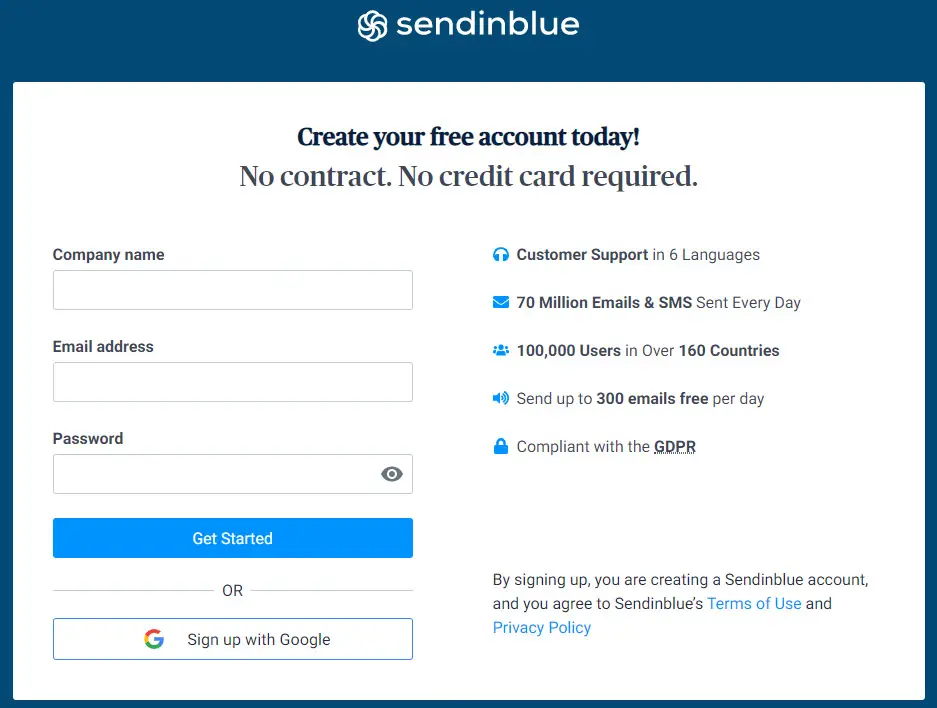
The first thing we need to do is to create an account to SendInBlue.com: doing it is extremely easy, we just have to fill up the required fields (or select a third-party OAuth provider such as Google), as shown in the following screenshot:
Once done, we need to select one of the various pricing plan available: the best thing we can do, at least for the time being, is to select the FREE plan, which allows to send up to 300 e-mail messages per day; that's more than enough for testing out our implementation.
In order to complete the registration phase we'll need to confirm our given e-mail address: as soon as we do that, we can move to the next steps.
2. Retrieve the SMTP settings
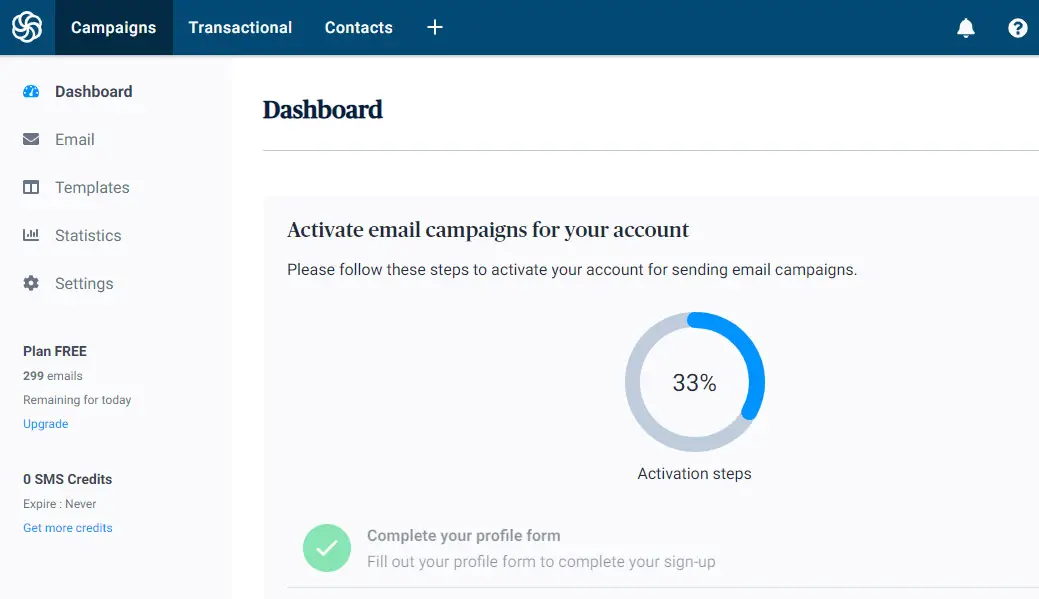
Right after completing the registration phase and performing the login we'll be brought to the SendInBlue's main dashboard panel, which allows us to monitor our recent activities as well as managing our campaigns, templates, settings, and more.
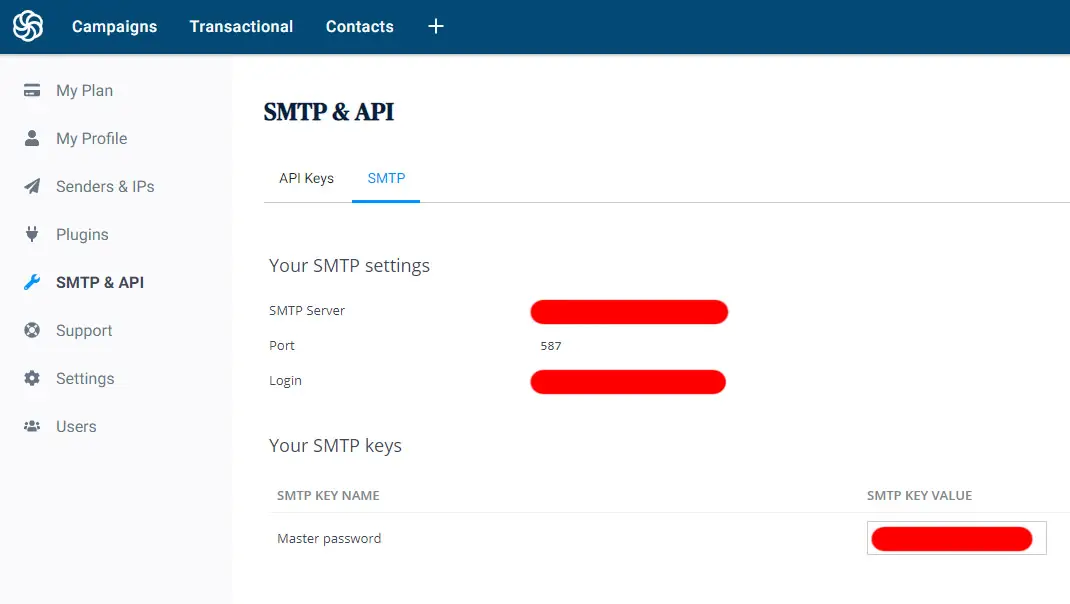
Don't get fooled by the Email option on the left menu, which is all about creating e-mail campaigns and mass-mailing tasks: what we need to do there is to select the Transactional option from the top menu to access the Transactional Email section, which is what we're going to use SendInBlue for.
From the Transactional Email section, select Email > Settings from the left menu to access the SMTP configuration settings, as shown in the following screenshot:
3. Configure MailKit with a custom IEmailSender
From that panel you should be able to get all the required settings to properly configure the MailKitEmailSenderOptions class and instantiate the MailKitEmailSender class accordingly in your ASP.NET Core Application: if you need further instructions on how to do that, read our how to send email messages via SMTP with MailKit tutorial.
Conclusions
That's it, at least for now: we hope that this simple guide will help other ASP.NET Core developers in configuring their custom EmailSender using the SendInBlue service.
